- Ceramics WELCOME
- Ceramics Beginning - Syllabus
- Ceramics Begin-Photography Assignment-Student & Parent
- Ceramics & Sculpture Survey
- Ceramics Intermediate - Syllabus
- Remind101 Sign-up
- Sketchbook Assignments
- State of Michigan Michigan Standards, Benchmarks, & Grade Level Content Expect. for High School Visual Arts
- Elements of Art & Principles of Desgin
- 2-D Review - Color Theory Practice
- #1. Designs & Haiku
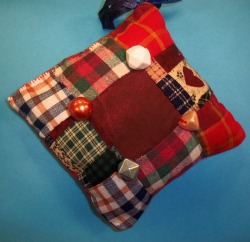
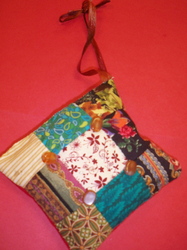
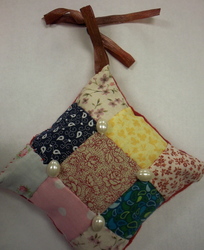
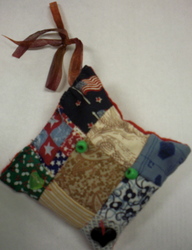
- #2. Quilted Ornament
- #3. 3-D Design Essay
- Rubric For Art Assignments
- Future Project Teaser Puppet Photo Gallery
- Teaching Guide
- Resources
- Art Speaks! A blogging exercise...
- Vocabulary Study Guide
- AHS ART CLUB 2014-2015
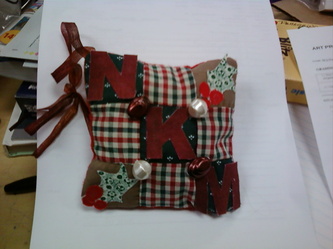
How to make a quilted patterned ornament!
All Photos by Pamela Woods, ©2018
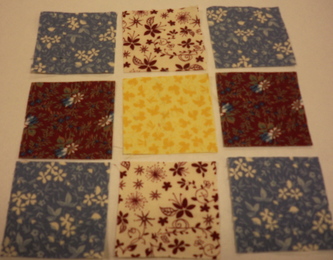
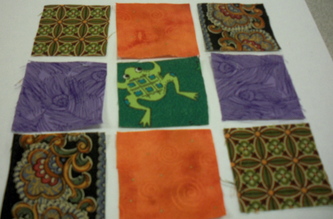
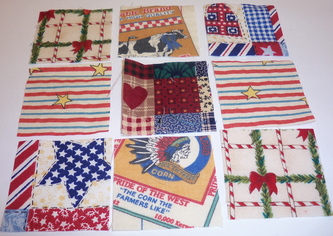
Step One - Select 9 squares of cotton fabric
Step Two - Arrange the squares into a pleasing design pattern using your knowledge of the elements of art and the principles of design.
Step Three - Thread your needle and tie a knot where the two strings meet at the bottom. Remember tie this like a sewing needle not like a fishing hook!
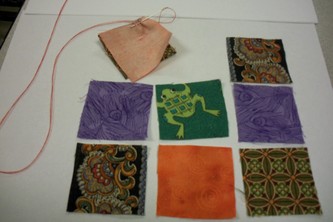
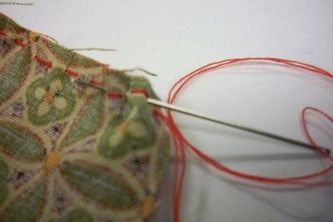
Step four - Separate the square into 3 separate rows and sew one row at a time.
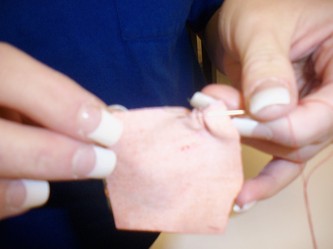
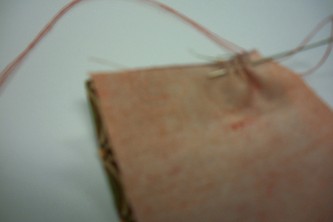
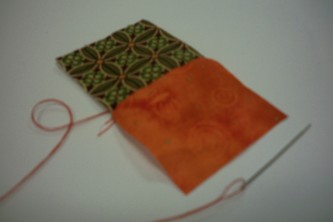
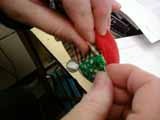
Step five - The two pretty fabric side face together then are sewn with the needle completely going through the 2" square before the thread is pulled through. When you pull the thread through, repeat the stiches again going backward through the square. Be sure to tie your know again.
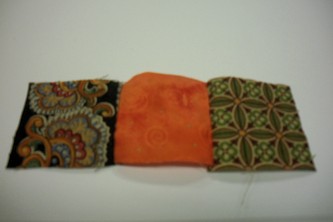
Step 6 - Repeat the above steps until you have 3 strips sewn together.
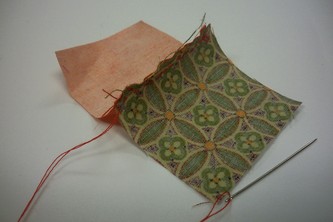
Step 7 - Sew the 3 strips together, by attaching strip one to two, then three to the combined one and two.
Step 8 - Sew the back to the square sewing 3 sides together and back.
Step 9 - Iron your square to crisp it up. Then sew on your beads where the 4 corners meet the middle square.
Step 10 - Stuff with fluff.
Step 11 - Cut a small ribbon to place in the corner.
Step 12 - Using a blind stitch (as demonstrated by your teacher) sew up the last opening.
Step 13 - Fill out a self assessment sheet and bring it to your teacher. Your teacher will go over your assessment sheet with you. You will agree upon the right grades and they will be logged into Powerschool.
Step 14 - Place your ornament in a nice spot or give it as a gift to someone you care about.
All Photos by Pamela Woods, ©2016
<META NAME="description" CONTENT="This is a educational website for the use of my AHS Art students only ">
<META NAME="author" CONTENT="P. Woods at [email protected]">
<META NAME="copyright" CONTENT="This group of lessons, materials, or quotes are only to be used by author and her students. If you want to use any part of the site contact the author, P. Woods at [email protected] for permission.© 2016">
